Sitemap setup to get found your Next.js blog in Google

Google Search Console is a tool to help Google discover your website and contents. Your website needs to go through the following steps to be found in Google Search.
- Verify the website in Google Search Console
- Create the sitemap.xml.jsx
- Submit the sitemap to Google
1. Verify the website in Google Search Console
1.1 Create account and start to add your website
You need an account in Google Search Console to add your website. First, create your account with Google Search Console if you don't have any accounts.

1.2 Add your website in Google Search Console
On the top left corner, click the search bar and hit the click +Add property. Type in the url of your website then click the Continue button.

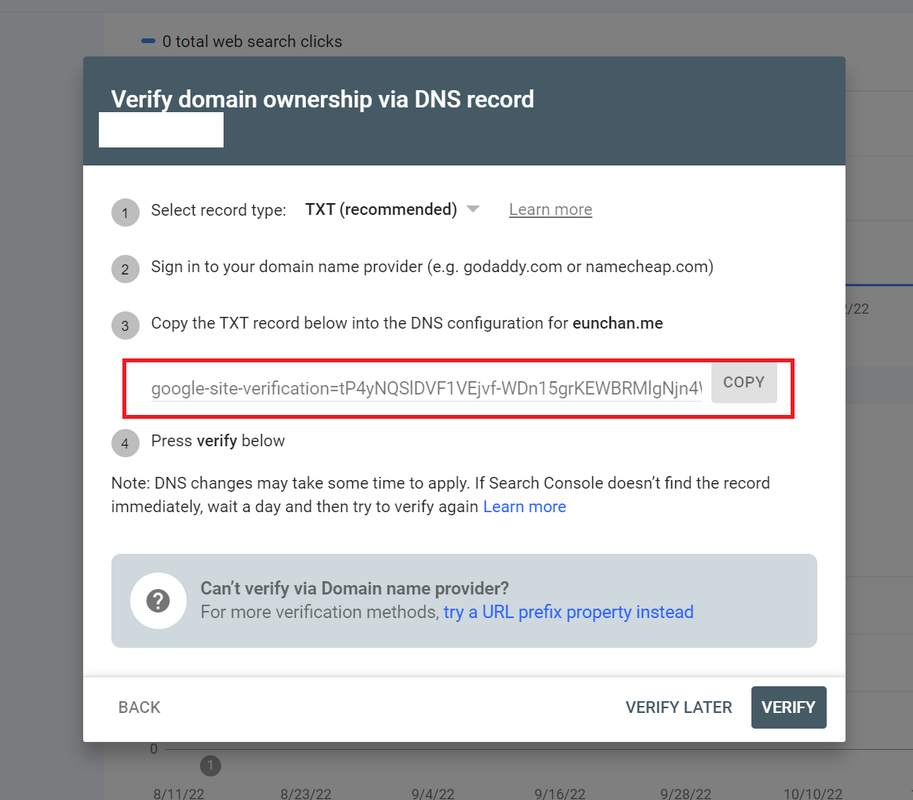
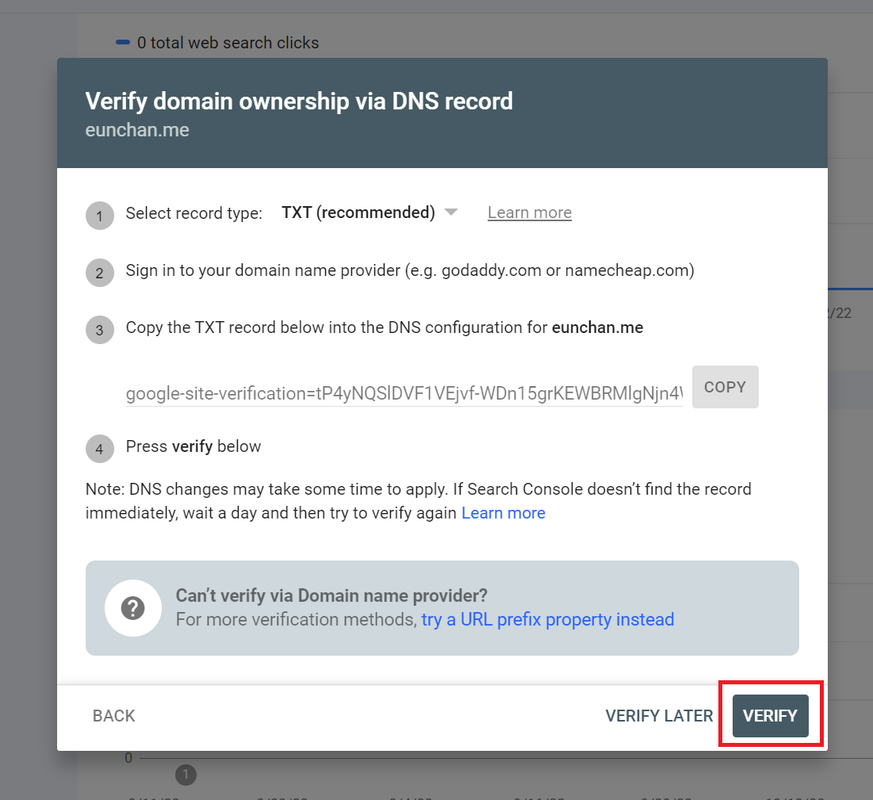
1.3 Verify domain ownership via DNS record
Copy the TXT record and add it to the domain name provider of your website. In this blog, I demostrate with NameCheap since it's the hosting company that I use.
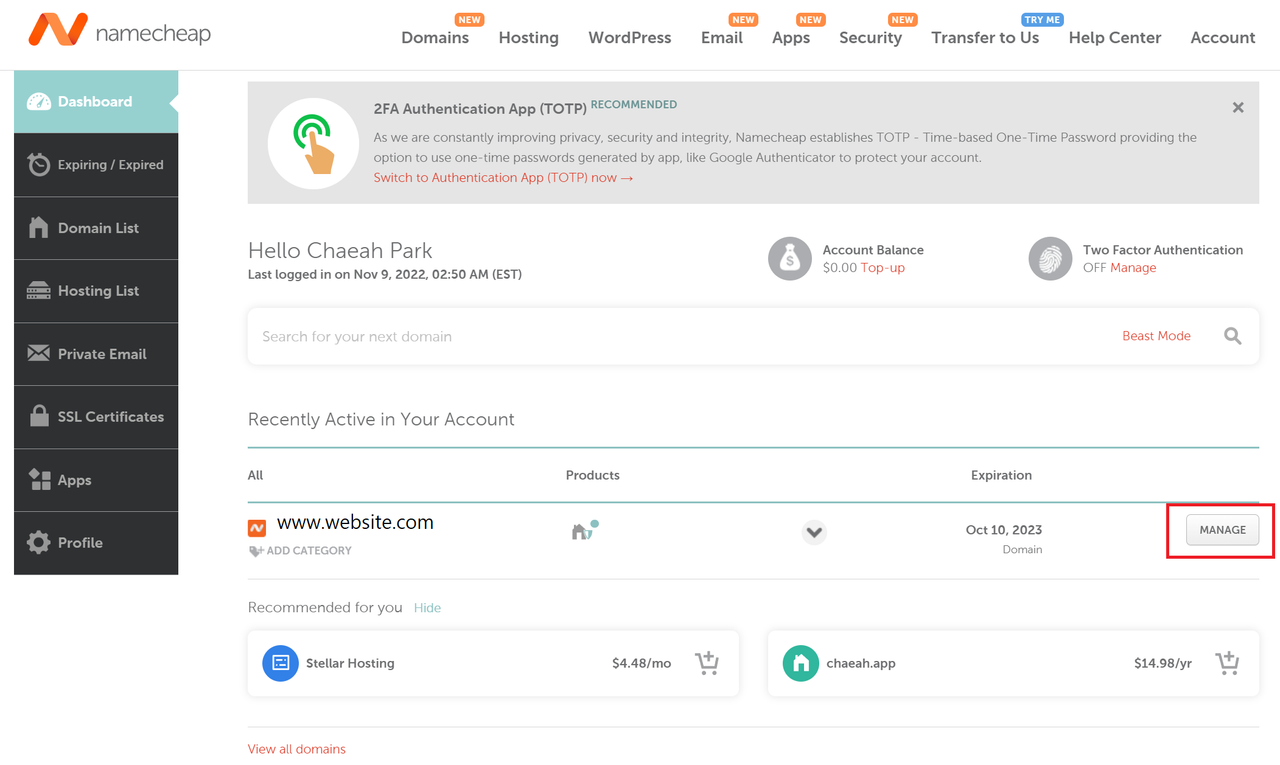
1.4 Go to your website domain name provider
Go to the NameCheap and click the Account menu on the top right corner. Then move to the Dashboard and click the manage button next to your target url.
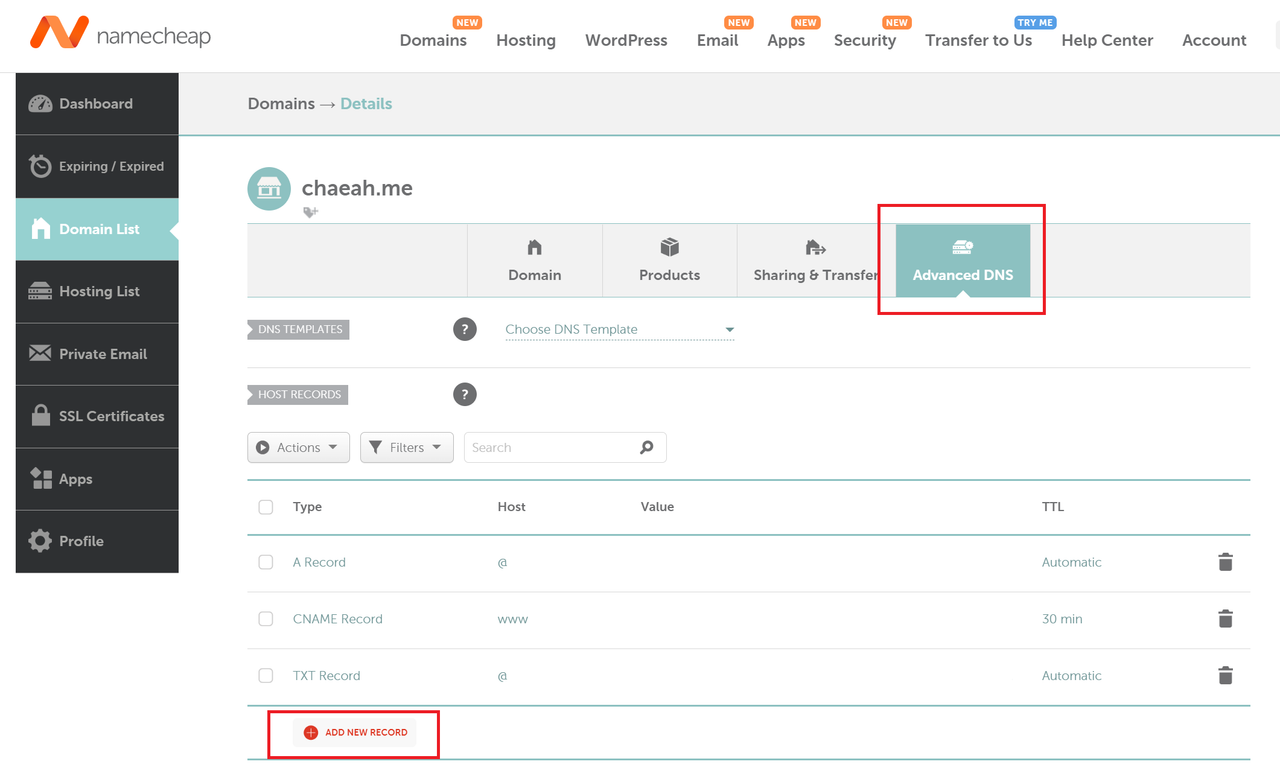
1.5 Add TXT record
Open the Advanced DNS tab and click the ADD NEW RECORD button on the bottom. Then choose TXT Record as a type, @ as a host, and paste the TXT records copied from Google Search Console into the value.
1.6 Verify in Google Search Console
Once you added the TXT record in your domain name provider, go back to Google Search Console and click the verify button.
2. Add a sitemap.xml.jsx in your project
There are two options to add a sitemap. If your website is simple and static,
you can manually create sitemap.xml.jsx in the
public directory of your website.
Another option is to use getServerSideProps if your site is
dynamic. In this blog I will cover the latter option.
Under the pages directory, create a new file
sitemap.xml.jsx such as /pages/sitemap.xml.jsx.
// getAllPosts generates all slugs for blog postings.
import { getAllPosts } from '../lib/posts'

const Sitemap = () => {
  return null
}

// Generate sitemap for all paths.
const createSitemap = (slugs) => `<?xml version="1.0" encoding="UTF-8"?>
<urlset xmlns="http://www.sitemaps.org/schemas/sitemap/0.9">
${slugs
  .map((slug) => {
    return `<url>
              <loc>${`https://www.chaeah.com/${slug}`}</loc>
          </url>`
  })
  .join('')}
</urlset>`

export const getServerSideProps = async ({ res }) => {
  const allPosts = getAllPosts()

  // Generate all paths
  const allPages = [
    ...allPosts.map((post) => {
      return `blog/${post.meta.slug}`
    }),
    ...['', '#projects', 'blog'],
  ]

  return {
    props: {},
  }
}

export default Sitemap
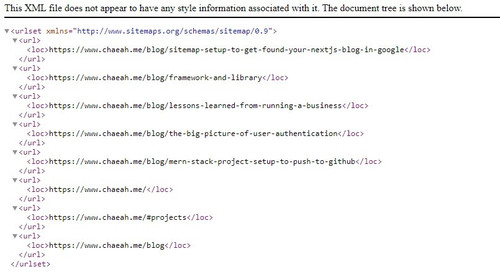
Once you completed to add sitemap.xml.jsx file, try if the sitemap
is generated in your development mode. For example, go
http://localhost:3000/sitemap.xml and check if the sitemap is generated.
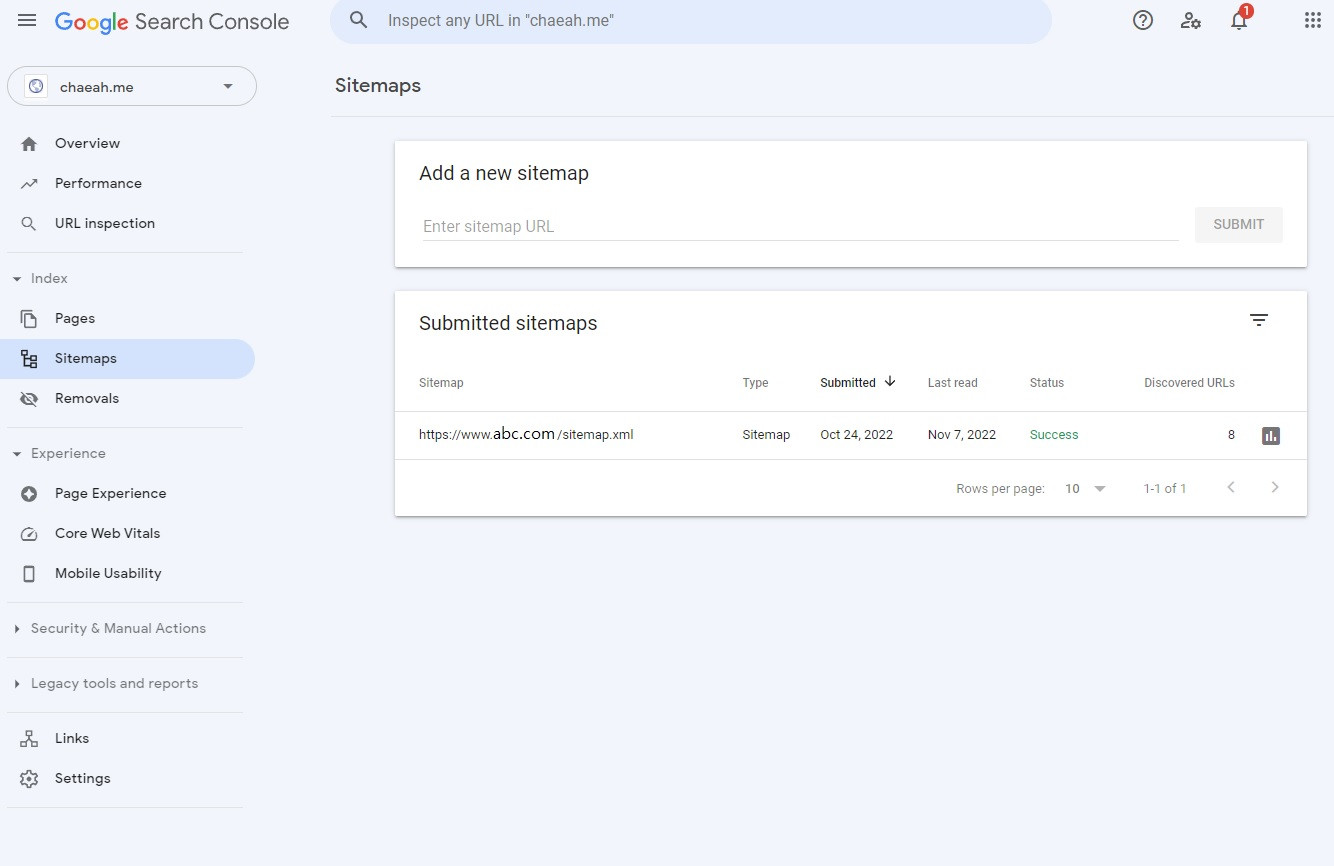
3. Submit the sitemap to Google Search Console
Add your sitemap url to Google Search Console. That's it. It takes a few hours until your website gets found in Google.